5 Ways To Take Amazing Pictures When Solo Traveling
Travel writer and content creator Sonia Ambika gives her helpful tips for taking pictures while traveling solo.
by SONIA ANAND
April 19, 2023
1. Utilizing A Tripod + Clicker
2. Prop Up Your Phone On An Object And Use The App “Lens Buddy’ For The Shutter
3. Book A Photographer On Airbnb Experiences
4. Aim To Shoot Early In The Morning
5. Most Importantly, Stop Caring What Other People Think Of You
As we head into 2023, Gen Z and Millennials care more than ever about getting aesthetically pleasing pictures when traveling. It’s become the new way of journaling where you are and sharing your adventures with friends, family, and followers.
Because I’ve mastered the art of taking aesthetically pleasing pictures online (check out Sonia’s Instagram here), people often ask me who takes my pictures. Honestly, it’s a mix between hiring photographers, using my tripod and propping my phone up on an object. As I go into my 4th year of solo traveling, I’ve found the best ways to take pictures alone. I’m here to share my tips with you to get those amazing shots for your photo album and Instagram!
1. Utilizing A Tripod + Clicker
The first step to taking amazing solo travel pictures is getting a tripod. Tripods are three-legged stands that hold your phone in place while capturing images/videos horizontally and vertically. Many of them come with a Bluetooth clicker remote, so you can connect it to your phone and snap pictures with your camera instantly!
I’ve been using a tripod for three years, and it has been a lifesaver when creating content on solo trips. They are great tools to use when there’s no one around to help you take pictures. Additionally, some tripods are multi-use and can change into a selfie stick.
Now you may be wondering, “What model should I buy?” While you may be overwhelmed by the hundreds of different kinds on the market, the best way to figure out which model is right for you is to ask yourself three questions.
- How adjustable in height do you want your tripod to be?
- Are you looking for a compact model that can easily fit in a small backpack?
- Do you want a multi-use model that can shift into a selfie stick?
I recently upgraded my tripod model from a basic standard look to a sleek, compact version that can adjust to any height, including work desks. It’s perfect for on-the-go photo shoots, including traveling. This model has been going viral on TikTok and selling out like crazy on Amazon. It’s the TONEOF 60in Cellphone Selfie Stick Tripod Stand, All in 1 with Integrated Remote. If you’re considering buying a tripod, check out the videos on TikTok for a demo of how to use the product, the different functions, and why it’s so great!
Get The Latest
We’ll use your email in accordance with our Privacy Policy. You can unsubscribe anytime.
2. Prop Up Your Phone On An Object And Use The App “Lens Buddy’ For The Shutter
If carrying around a tripod sounds like a hassle, try finding objects nearby to prop up your phone. These can be anything, such as leaning your phone against a window sill, using your backpack, or even a few large rocks! Once you find a good, secure location, the next step is to download the app, Lens Buddy, for shutter usage.
While many people use Apple’s built-in self-timer for iPhone, it’s not the most efficient way to take photos because only a single picture gets taken each time you set it up and press the button. But with Lens Buddy, you can take many photos at a time, thanks to its customizable features.
For example, you can adjust the settings to take 25 pictures in 2-second intervals or 100 pictures in 5-second intervals. Your phone will continue to take pictures in shutter mode without you having to do anything, except pose!
Another great feature of Lens Buddy is that each picture is recorded in a file where you can choose which ones you “like” and “dislike.” The disliked pictures will have a dark shadow on them, so you can mass-delete all of the ones you don’t like quickly. They will automatically delete from your camera roll.
3. Book A Photographer On Airbnb Experiences
The easiest and most convenient way to get those Instagram-able pictures is by using a photographer! You just show up at the location of your choice while looking your best self. While this option can be pricey, it will give you peace of mind knowing someone else is there to help you. The cost can range from $35-$400 depending on the photographer, their skillset, the destination, and inclusions.
I remember the first time I solo traveled and booked a photographer. I was tired of other tourists and friends taking unflattering images of me. Sometimes my eyes were closed. Other times I was fixing my hair or getting photobombed by a tourist ruining the moment.
Because of these experiences, working with a photographer – one who knew how to get all the right angles and ensure I looked my best – was worth it. After all, I want to look back on these trips when I’m old! I want to remember the times when I was young, carefree, and adventurous.
Before you book a photographer through Airbnb Experiences, I recommend reading the reviews and checking out their previous work to see if it’s the style of photography you’re looking for. Also, check what’s included in the pricing. Some of the inclusions I recommend that are worth your money are:
- 50-100+ unedited pictures for a 1-hour shoot
- 20-25 edited photos of your choice
- 2 allowed outfit changes (you may want to bring extra outfits to change into for variety)
In 2019, I started my content creator journey on Instagram and did my first photoshoot in London for $60. These days, I typically pay a maximum of $150 per hour or two, depending on the photographer and destination. I love doing photoshoots because you get a mini tour included in the experience. Additionally, the photographer can give you tips and tricks to navigating the destination with a dash of history because they’re local. At the end of the experience, you may find that you have a new friend that you met while solo traveling!
4. Aim To Shoot Early In The Morning
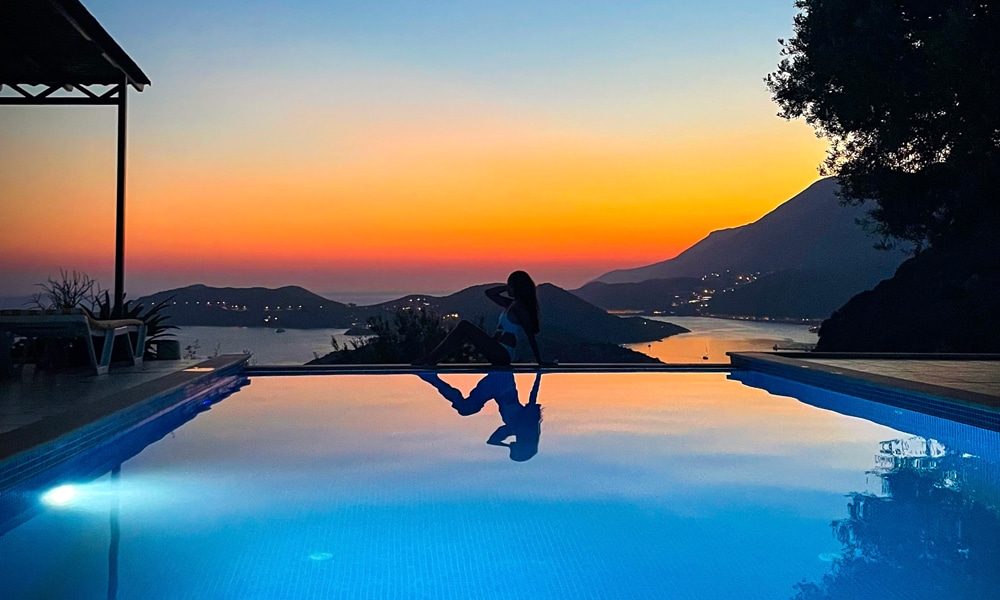
I think we can all agree that having crowds in the background of your photos isn’t the most eye-pleasing thing! Some people may photobomb you for fun, and others might be walking by and accidentally get in the shot.
The best way to avoid this is by shooting bright and early in the morning, typically between 6 am and 9 am (depending on sunrise). Early morning hours mean fewer crowds, softer rays of sunlight, and smooth capturing of the perfect images.
The only people you’ll likely see are locals running off to work, café workers on the job, and store owners prepping their stores for the day. These people couldn’t care less about what you’re doing, especially because you’re promoting their beautiful destination!
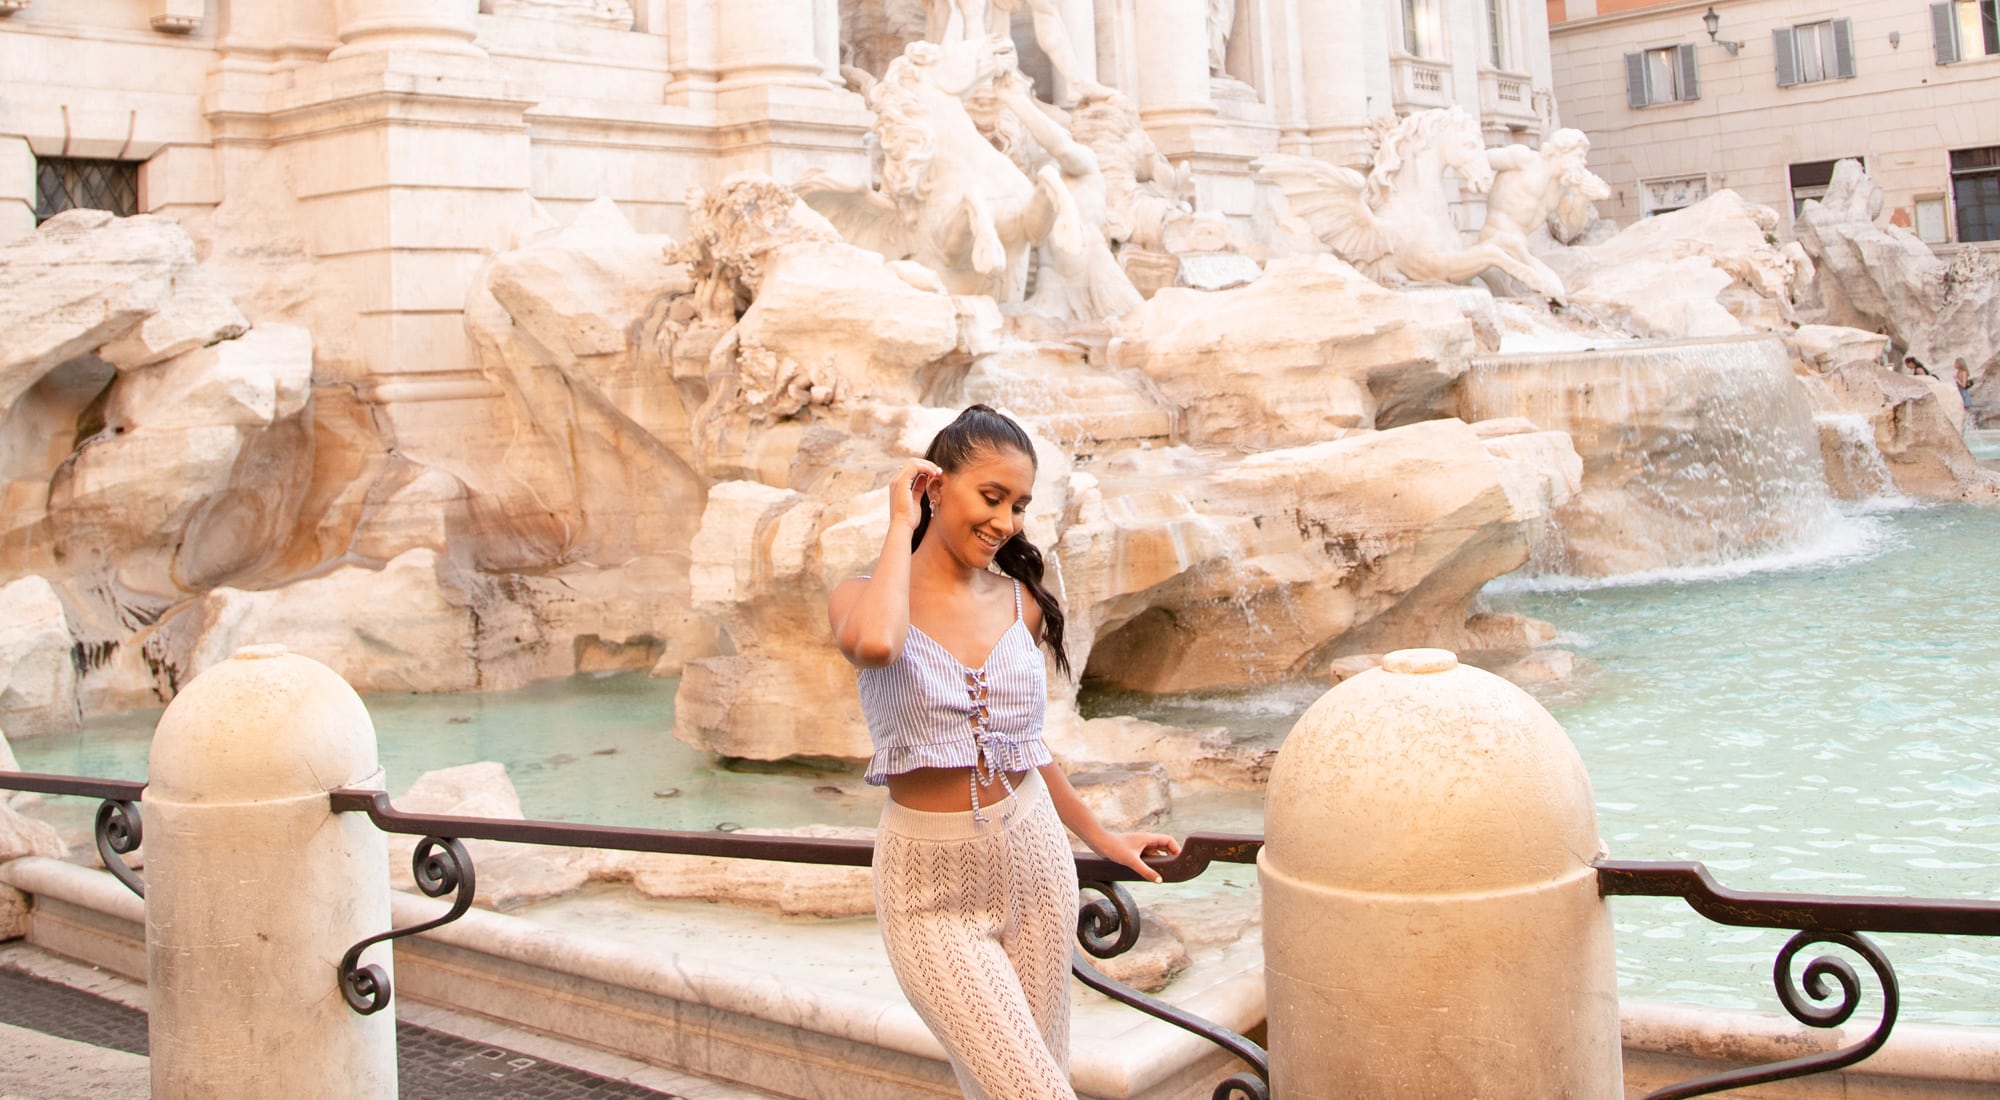
I have previously done photoshoots with photographers in places like Rome and Budapest at 7 am to avoid crowds at some of the most popular tourist attractions like the Trevi Fountain and Fisherman’s Bastion. Amazingly, you’re more likely to have the entire location to yourself when shooting this early!
5. Most Importantly, Stop Caring What Other People Think Of You
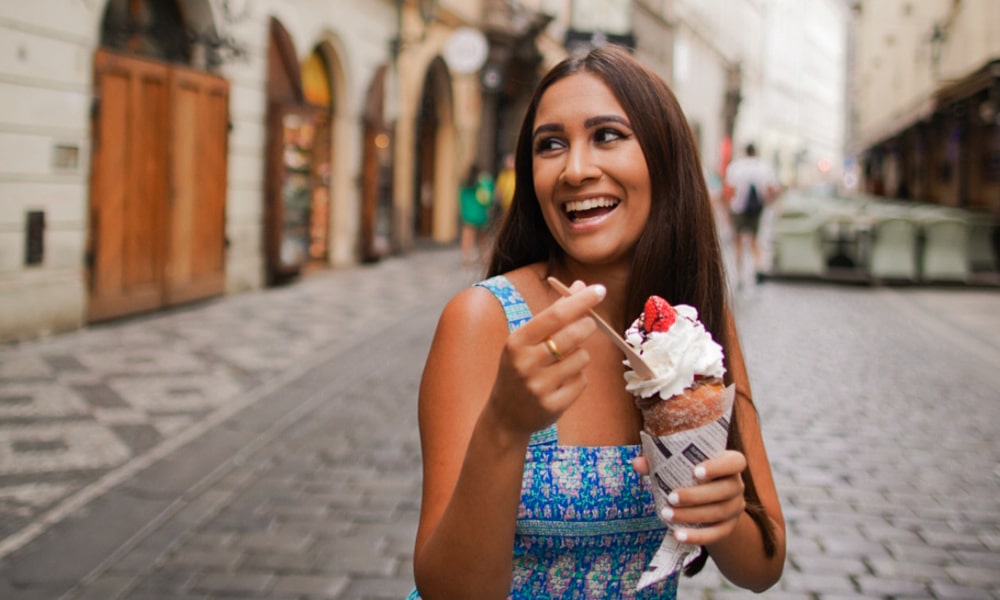
One of the biggest things that halt people from taking amazing pictures by themselves is the fear of what others passing by will think. You may get some stares or people scratching their heads, wondering what you’re doing. Others may laugh and judge you.
But the best advice I will give you: Simply ignore them.
Will you see these people when you get back home from traveling? Probably not. Do these people know you? Highly unlikely. Within 10 minutes, the people watching you will forget what they saw and never talk about it. This mindset has helped me and continues to whenever I feel a lack of confidence taking pictures solo due to other people around.
Overall, I hope these tips help and inspire you to take amazing pictures when solo traveling – ones you can look back on and be proud of. Above all, don’t forget to build that confidence and not care what other people think!
If you liked this post, share it on:
Hi!
We’re BACK&PACK. We offer online resources and unique backpacking adventures for global backpackers and gap year travelers.
If you like our content, consider subscribing for meaningful travel advice, special trip promotions, and more!
We’ll use your email in accordance with our Privacy Policy. You can unsubscribe anytime.
More Posts
Explaining Your Solo Trip To Friends And Family
Having a conversation with concerned loved ones about why you are taking a solo trip can be challenging. Here is how to make these talks as effective as possible.
Your Guide To Travel Planning Logistics
Get organized with our insights into travel logistics, including flight and hostel booking, travel insurance, luggage, and more
How To Cope With Loneliness On Your Solo Trip
Tips and tricks so you stay connected, meet new people, and make the most out of your solo trip (even when loneliness hits)
8 Reasons Iceland Should Be Your Next Destination
Learn why Iceland’s endless natural beauty, friendly locals, and safety status makes it the perfect choice for your next trip.
6 Steps To Find Ethical Volunteering Opportunities Abroad
Is volunteering abroad bad? Learn about steps you can take to find ethical volunteering opportunities abroad.